
When installing upgraded or larger aftermarket mainshaft, clearancing the reverse actuator arm and shift fork is essential to prevent rotational binding, scraping, and grinding. That will lead to damage and unusual noise.
Your Privacy Choices
As described in our Privacy Policy, we collect personal information from your interactions with us and our website, including through cookies and similar technologies. We may also share this personal information with third parties, including advertising partners. We do this in order to show you ads on other websites that are more relevant to your interests and for other reasons outlined in our privacy policy.
Sharing of personal information for targeted advertising based on your interaction on different websites may be considered "sales", "sharing", or "targeted advertising" under certain U.S. state privacy laws. Depending on where you live, you may have the right to opt out of these activities. If you would like to exercise this opt-out right, please follow the instructions below.
If you visit our website with the Global Privacy Control opt-out preference signal enabled, depending on where you are, we will treat this as a request to opt-out of activity that may be considered a “sale” or “sharing” of personal information or other uses that may be considered targeted advertising for the device and browser you used to visit our website.


Shim on countershaft
Setting countershaft stack height through precise shimming is a critical step in these gearboxes. Because the stack raises into its final position only when clipped into the top case bearing, miscalculating shim thickness skews the entire alignment of 1st and 2nd gear sliders and gear alignment. Don't stress when the top half of the case is off and the countershaft stack is sitting lower causing the 1-2 slider rest on the top of mainshaft 1st gear. 1.Install a Fresh Countershaft Snap-In Bearing: Eliminate play caused by worn outer races or loose balls. Never use a worn bearing for mock-up. Excess radial or axial play in an old bearing alters the clipped height, invalidating all stack measurements once under load. 2.Calculate & Select Base Countershaft Shim: Too thick prevents full upward movement into the case clip. Select the shim thickness to control how high the shaft sits once clipped into the top case. Excessively thick shims restrict upward lift, causing gear interference and slider misalignments. 3.Assemble Case, Shift Forks & Detent Assemblies: Always load detent ball, spring, and bolt. Torque the top case bolts to spec and snap the countershaft bearing into position. The shift fork and detent assembly must be fully installed, as the spring-loaded detent determines the exact rested position of the shift slider. 4.Verify 1st & 2nd Gear Slider Engagement:Inspect through window case or inspection ports .Look through the inspection window to confirm the slider teeth center cleanly on the engagement teeth. Remember that the slider should align with the raised engagement teeth rather than bottoming out on the gear body itself. 5.Check Slider-to-Mainshaft Clearance: Confirm clearance over mainshaft gear body. Ensure adequate gap remains between the bottom of the 1st gear slider and the top of the 1st gear mainshaft. Adjust countershaft shimming up or down if the slider lacks clearance during shifts.
Tool


INPUT SHAFT ENDPLAY
1. **Initial Stack & Clearances:** Requires flat shim, conical spring under 1st gear, and top shim. Install the fully assembled mainshaft stack inside the transmission casing with your test top shim. Bolt the top casing down. Verify that the shaft turns freely by hand:* **If it binds/does not spin:** Remove the casing and switch to a thinner top shim.* **If it spins smoothly:** Proceed with that shim to measure final endplay. 2. **Mount Thrust Tooling & Dial Indicator:** Use a magnetic base dial gauge. 1. Reassemble the transmission components into the original top casing using your selected top shim, then bolt the casing down. 2. Mount the mainshaft thrust tool kit onto the mainshaft at the clutch housing side. 3. Attach a dial gauge via a magnetic base and zero out the indicator. 3. **Measure Mainshaft Endplay:** 1. Lightly tap or push the shaft toward the top case. 2. Use the adjustment screw on the base of the thrust tool to pull the shaft toward you against the dial gauge. 3. Record the total deflection read on the dial. 4. **Adjust Shim Thickness:**Compare your measured endplay against the recommended tolerances:* **Synchro Gears:** `0.006" – 0.008"`* **Dog Engagement Gears:** `0.008" – 0.010"`*(Or follow your engine/transmission builder's custom specification).*If endplay falls outside these ranges, swap in a thinner or thicker top shim and repeat the measurement process until proper tolerance is achieved. Link to thrust tool kit below.

Window case example photo for easy assembly for checking clearances, alingment and gear engagement.
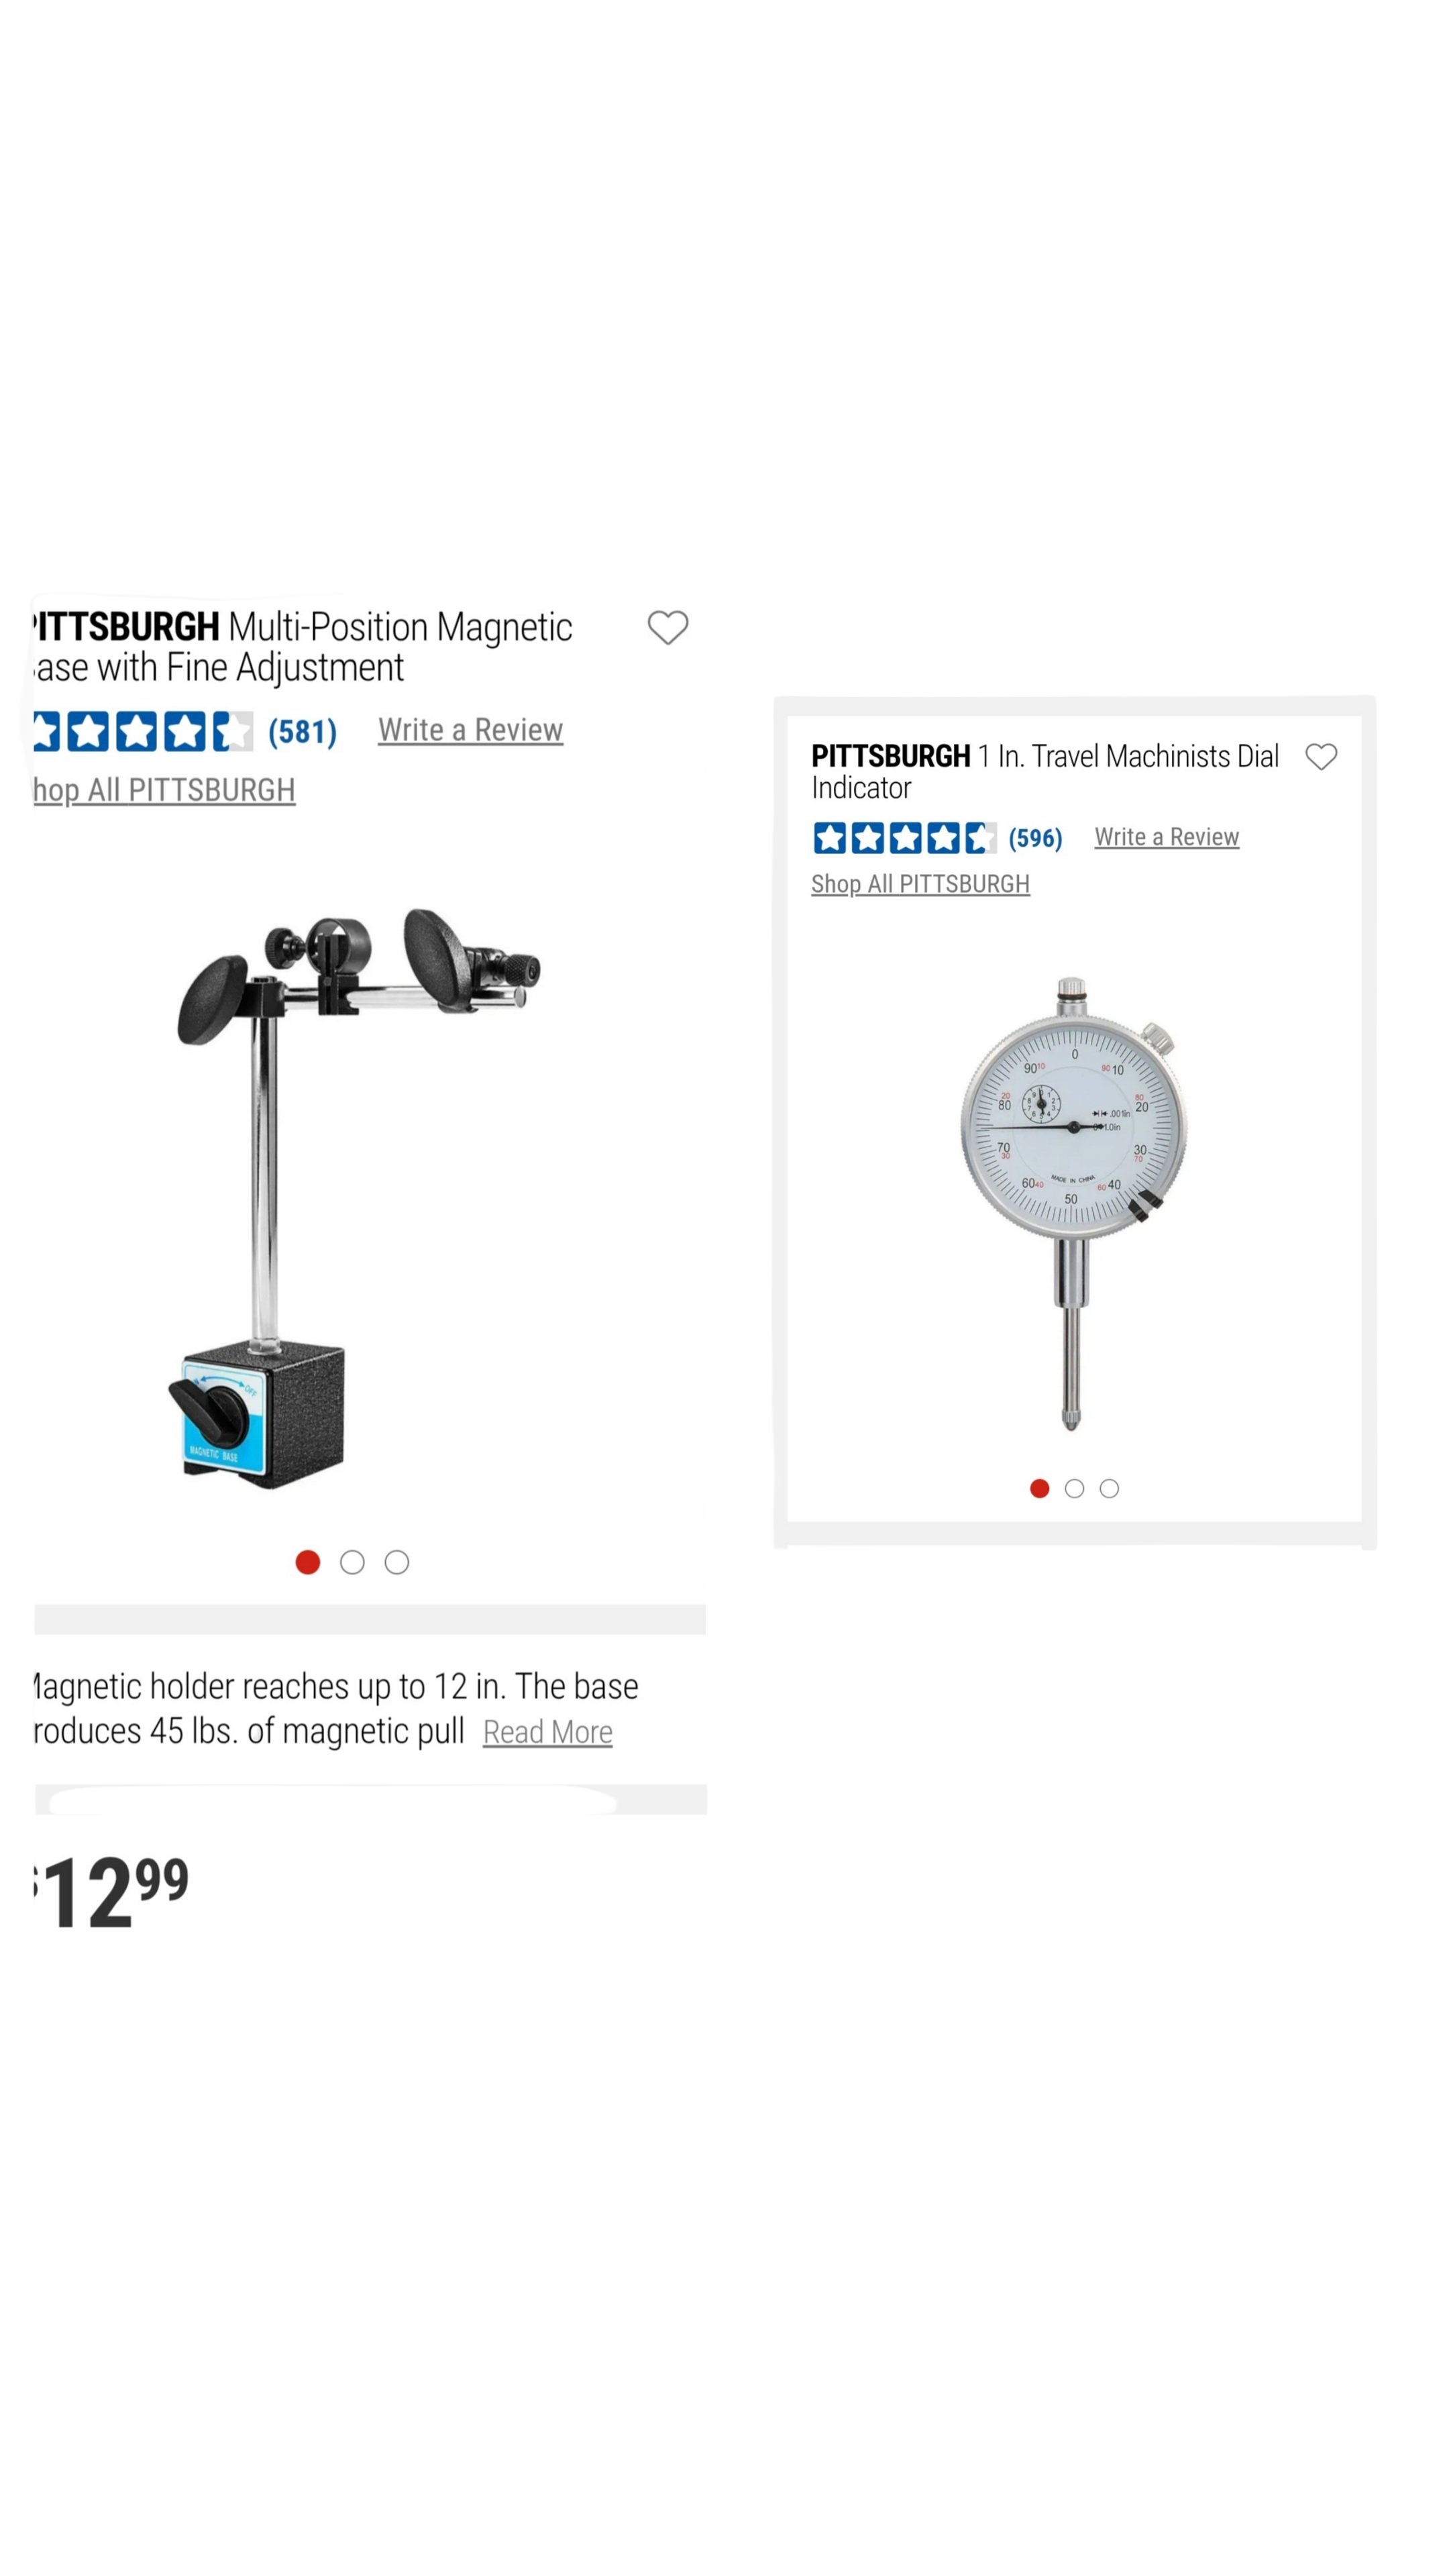
Magnetic base and dial gauge for thrust endplay set.


